Seven months. One overgrown corner of the yard. A whole lot of lumber, concrete, metal roofing, and trips back to the shop.
I call this a tiny house, but it is really a shed with some ambition. It has a covered porch, a dormer, a metal roof, custom details, and a fire pit out front. Inside, it is still a practical place to store equipment and get things done. The goal was not to disguise a storage box. It was to build something useful that also made this part of the yard worth spending time in.
I handled most of the work myself, with a little help along the way. And while the finished building is the fun part, getting there started with a much less glamorous job: finding the ground underneath all that vegetation.
Table of Contents
- Clearing the Site and Making Room to Work
- Building the Concrete Slab Foundation
- Framing the Walls on the Slab
- Giving the Shed Its Roofline
- Sheathing the Building and Framing the Porch
- Housewrap, Underlayment, and Metal Roofing
- Installing Windows, Doors, and a Custom Screen Opening
- Building the Fire Pit Before the Shed Was Finished
- Soffits, Siding, and the Details That Took Time
- Turning the Construction Site Into a Backyard Space
- Keeping the Interior Practical
- Seven Months Later
- A Convenient Meal Between Project Sessions
Clearing the Site and Making Room to Work
The starting point was a wooded, overgrown patch of yard. Before there could be a foundation, I had to remove brush, haul out debris, dig up roots, and establish a clear footprint.
This is the part of a shed build that is easy to underestimate. There is no impressive wall to stand back and admire. There is just another load of material to move.
After clearing, I marked the building location and brought in fill to build up and level the area. A powered material buggy handled repeated trips between the driveway and the site. The delivery was only the beginning. All that material still had to get to the right place, then be spread and shaped.
Access is part of the project. For a backyard build, the route between the delivery point and the foundation matters almost as much as the footprint itself. Concrete, lumber, sheathing, and roofing all have to make that trip.
Building the Concrete Slab Foundation
With the site prepared, I laid out the slab forms. This was the first time the future building had a definite outline rather than a few marks in the dirt.
The foundation work moved through several distinct stages:
- Set and stake the perimeter forms.
- Prepare the ground within the footprint.
- Lay plastic sheeting across the slab area.
- Position reinforcing steel on supports.
- Place, level, and finish the concrete.
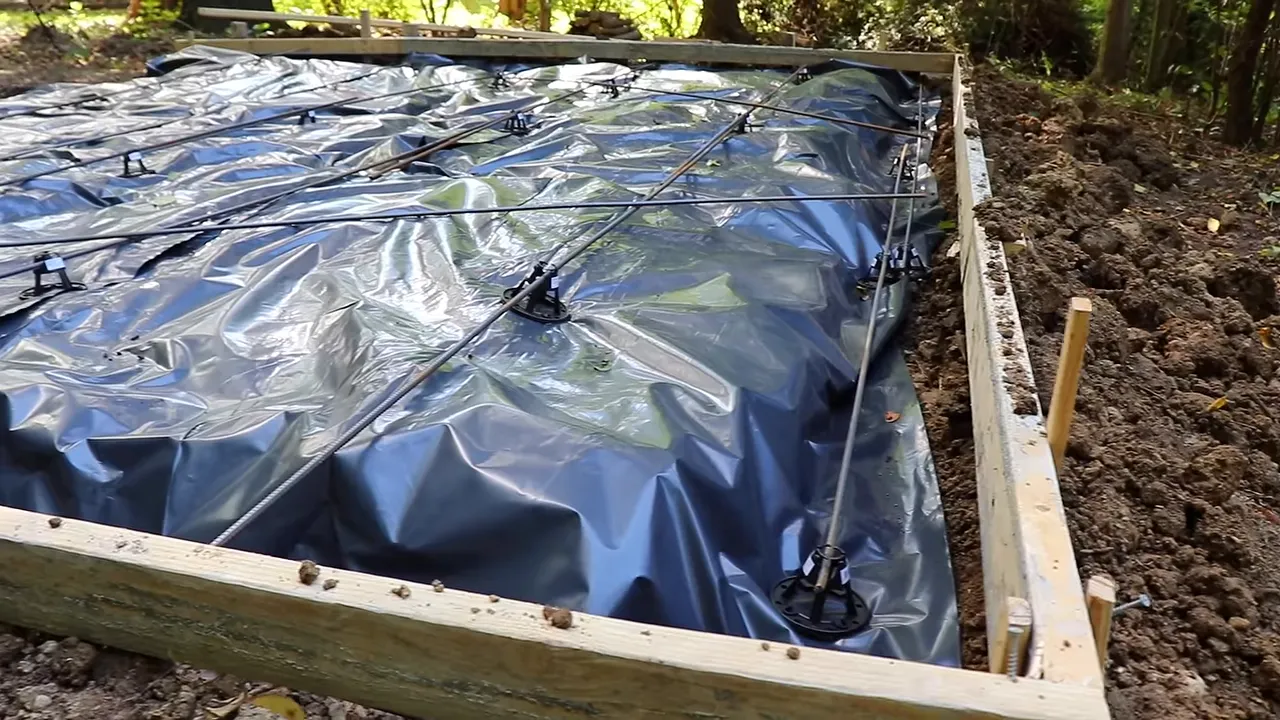
The concrete came from a ready-mix truck, with the material buggy transporting it into the backyard. From there, it was a steady process of placing concrete, spreading it, and bringing the surface into plane.
Finishing took several passes. The rough placement gradually became a smooth slab, with attention to the surface and perimeter edges. Once the forms came off, I checked measurements and marked the wall layout.
That last step is worth separating from the excitement of having a finished slab. A foundation is not just a surface to build on. It is the reference for everything above it. Taking time to check the layout before framing is much more appealing than discovering a problem after the walls are connected.
Framing the Walls on the Slab
The slab immediately became my assembly table. I cut plates, laid out studs, and assembled wall sections flat before raising them.
This is where the project finally started looking like a building. Door and window openings appeared in the framing, and the arrangement of the space became much easier to understand.
Not all the openings served the same purpose. The design included a regular entry door, a much larger equipment opening, smaller windows, and a wide opening facing the future seating area.
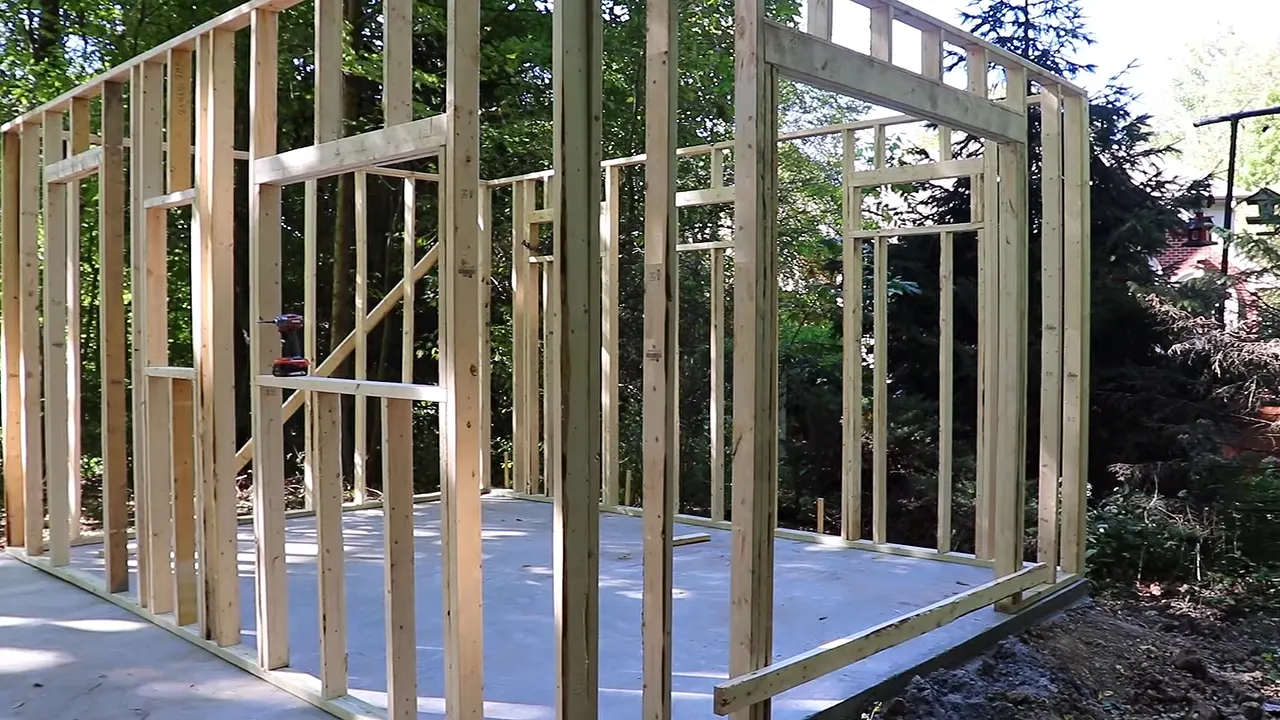
As each wall went up, temporary diagonal braces held it in position. Then came the less dramatic but necessary work: connecting the sections, checking plumb, securing the bottom plates to the slab, and completing the upper framing.
Working mostly alone changes the rhythm. There is a lot of moving between cutting, positioning, supporting, checking, and fastening. A wall that looks simple when it is finished represents quite a few separate operations.
Giving the Shed Its Roofline
A plain roof would have been simpler. Naturally, that is not what I built.
The main gable roof gives the shed its height and familiar little-house profile. The dormer adds another layer of detail, while the lower porch roof stretches across the front. Small roof projections over other openings help tie the whole design together.
I built the main roof framing components on the ground, using cut lumber and plywood gussets, then lifted them into place one at a time. With the repeating roof members installed and connected, the building finally had its full shape.
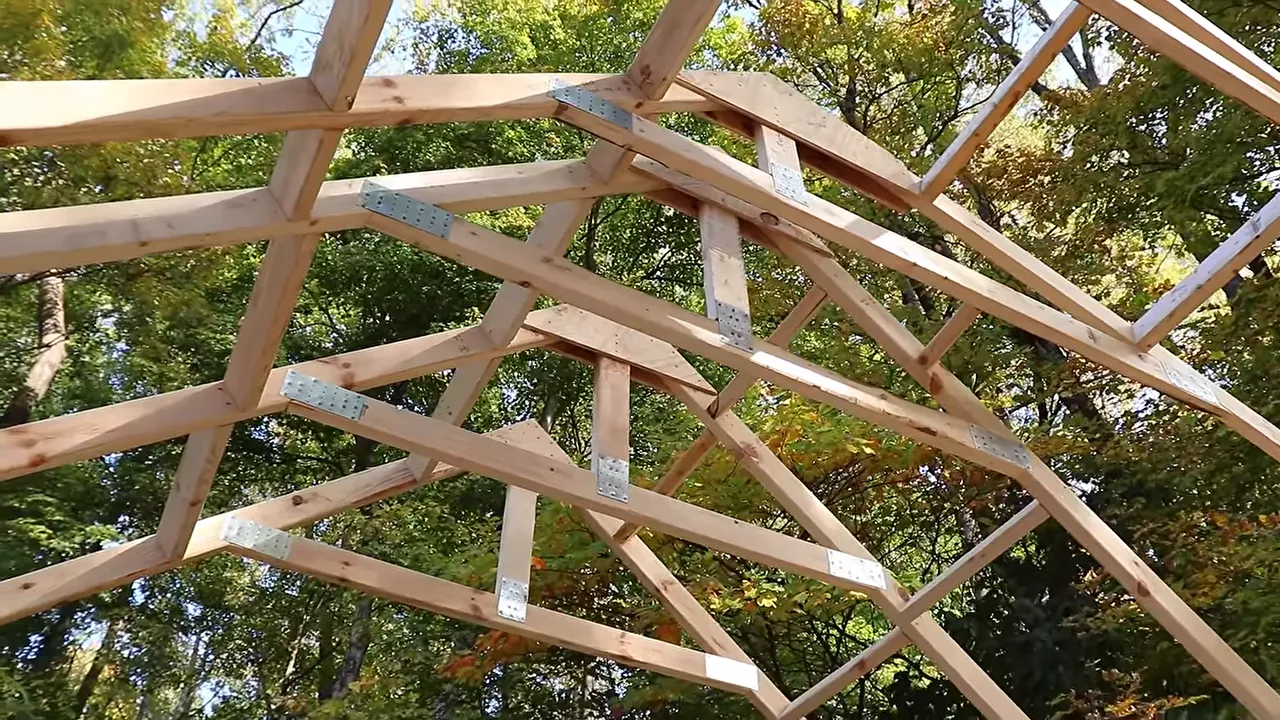
The extra roof features added plenty of work. Every change in direction meant more pieces to cut, more connections to make, and eventually more roofing details to finish.
That is the tradeoff with a tiny house style shed: the building may be small, but the detail count is not.
Sheathing the Building and Framing the Porch
Next came wall sheathing. Large panels covered the framing, and I cut out the window and door openings after the panels were attached.
It was a satisfying transformation. The open skeleton became a solid enclosure, and the scale of the doors and windows started to make sense against actual walls.
The covered porch needed its own structure. I installed metal post bases at the concrete, stood the timber posts, and added the beam and roof framing. Temporary supports helped hold the assembly while the connections came together.
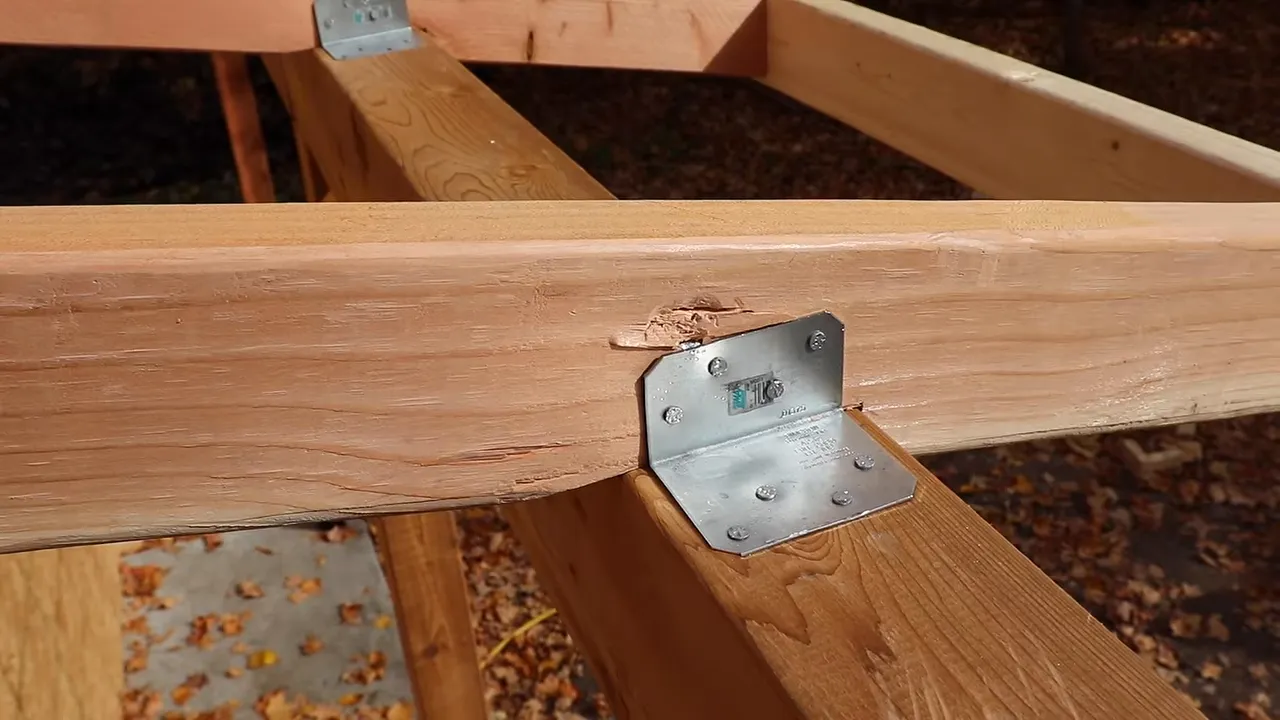
The porch is a big part of why this does not feel like an ordinary utility shed. It gives the front some depth, creates a sheltered edge, and introduces natural wood that contrasts with the finished siding.
After the framing, I sheathed the porch roof and the main roof. Moving full sheets into position was its own project, especially at height. This is also a good place to be clear: a build sequence is not a safety plan. For anyone planning similar work, OSHA’s ladder safety resources are a useful starting point alongside proper access equipment and task-specific precautions.
Housewrap, Underlayment, and Metal Roofing
Once the sheathing was in place, I moved on to the layers behind the exterior finish: housewrap on the walls and roofing underlayment over the roof deck.
These stages do not get the same attention as siding or roofing, but they deserve it. The finished exterior has plenty of interruptions, including windows, doors, roof edges, and places where a roof meets a wall. Those junctions need deliberate attention rather than a quick cover-up.
I worked through the fascia and edge details before installing the dark metal roof panels. The panels needed measuring, cutting, positioning, and fastening, with additional pieces around the dormer and roof intersections.
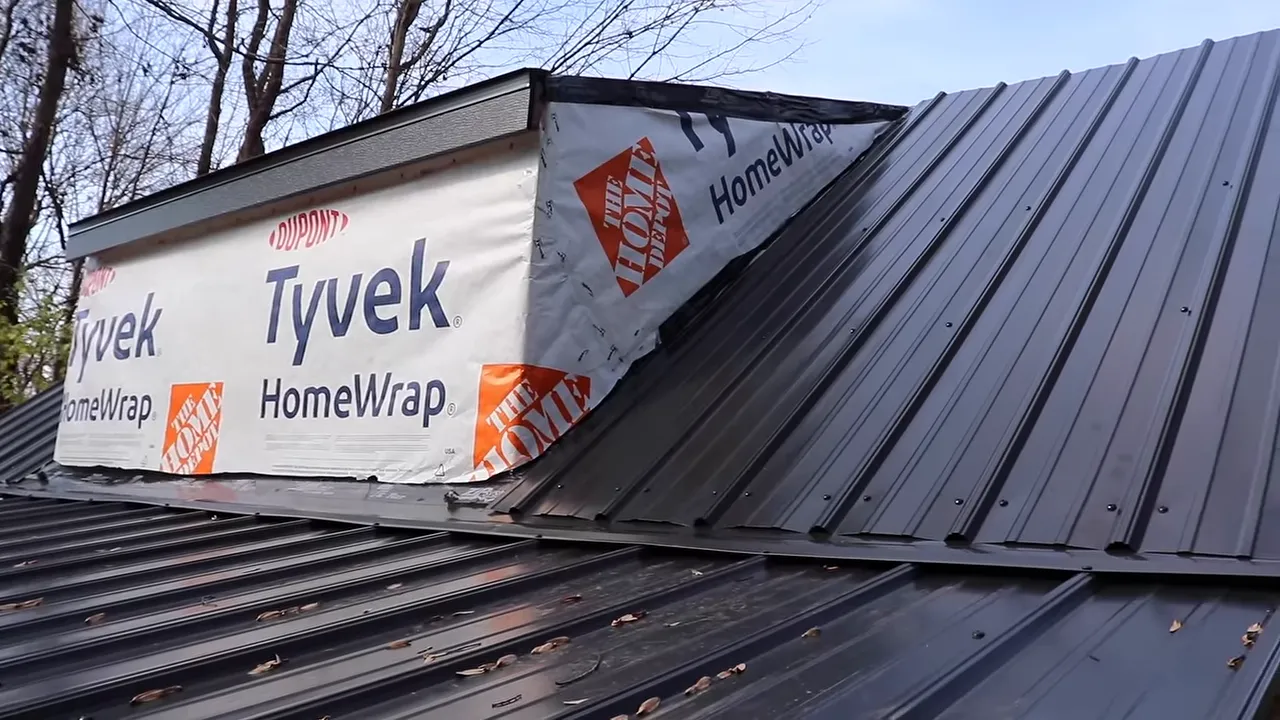
The metal roofing made an immediate visual difference. Even with housewrap still covering the walls, the dark roof pulled the design together.
But getting panels onto the roof was not the finish line. Trim, flashing, and ridge details continued later in the project. That became a recurring theme: something could look nearly finished from the yard while still having a healthy list of jobs attached to it.
Installing Windows, Doors, and a Custom Screen Opening
The windows were a mix of sizes, including smaller units high on the walls and windows in the dormer. I prepared the openings, installed the units, and worked through the surrounding flashing details.
One front-facing opening got a more custom treatment. Back in the shop, I built a glazed frame, finished its components, and assembled it before installing it in the shed.
That opening became part of the outdoor entertainment setup, with a screen mounted inside facing the seating area. It is a small detail in the overall build, but it changes how the front of the shed can be used.
The two main access points had very different jobs:
- A conventional entry door for everyday access.
- A roll-up door for moving larger equipment in and out.
The roll-up door assembly went above the large opening, followed by its guides and adjustments. Having both types of access meant the building could keep its small-house appearance without giving up the usefulness of a shed.
Building the Fire Pit Before the Shed Was Finished
At this point, I also started building the outdoor space in front.
I marked a circle, excavated the area, added and leveled aggregate, and began laying the block surround for the fire pit. The metal insert fit within the masonry, with additional courses and cap pieces completing the outside.
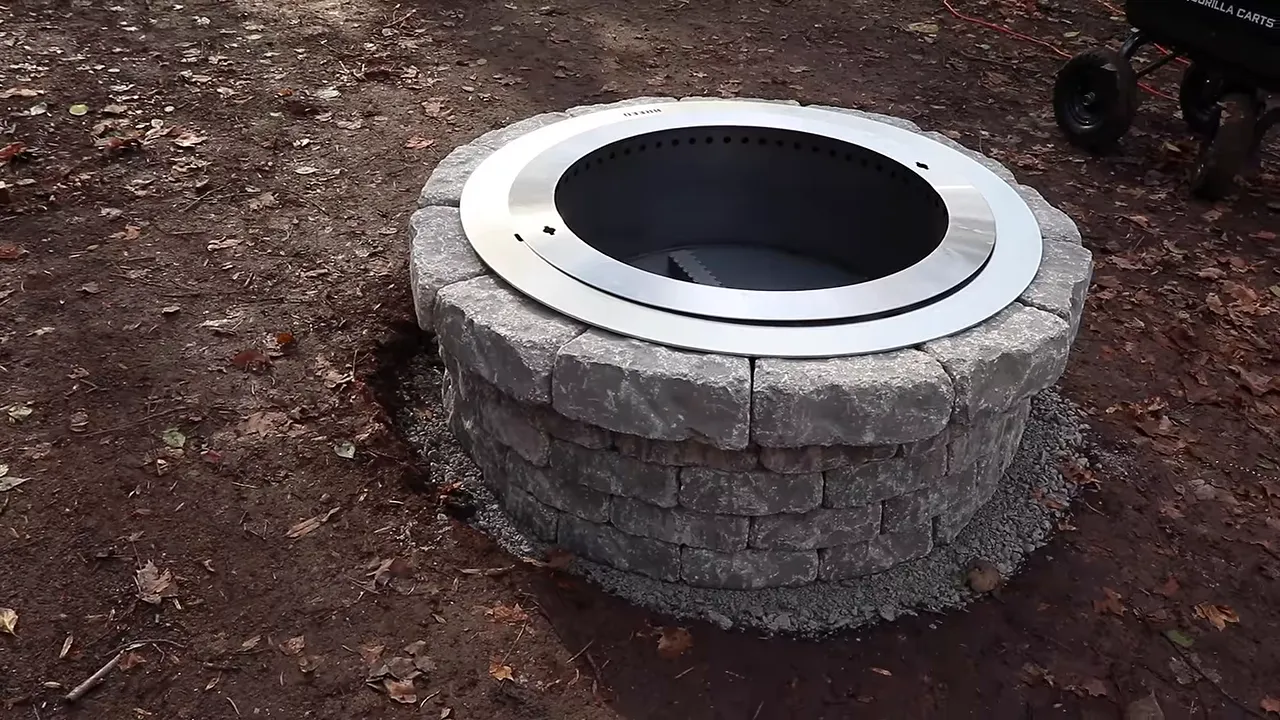
There is something pretty motivating about being able to use one part of a project while the rest is still under construction. The shed still had housewrap on it, but the fire pit already offered a place to sit down.
And yes, after all that hauling and framing, sitting down sounded excellent.
Soffits, Siding, and the Details That Took Time
The porch ceiling and roof overhangs received wood lining, covering the underside of the sheathing while retaining the exposed timber character.
Then came exterior trim and siding. I used a shingle-style treatment across the front and horizontal lap siding on the other walls, with trim defining corners, doors, and windows.
The lap siding went up course by course, using siding gauges to support and position boards. Those are particularly useful when there is not another person holding the far end.
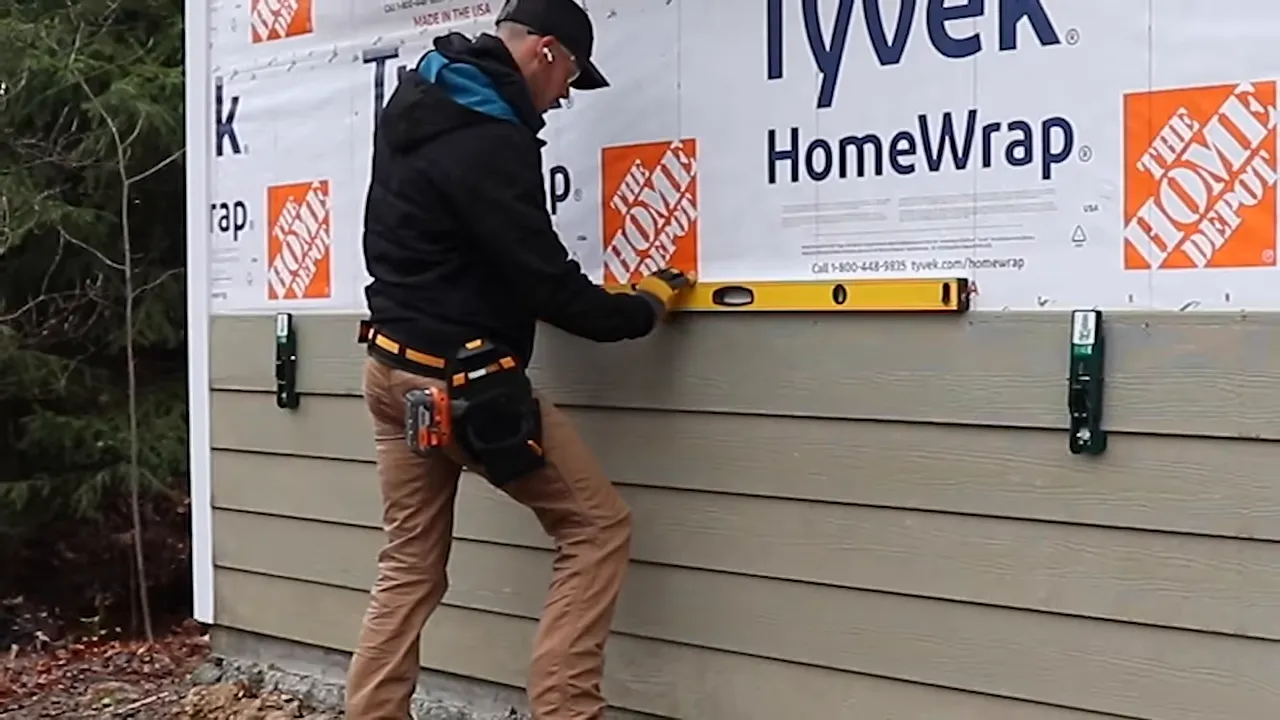
This phase was full of small jobs that made a large difference:
- Fitting siding around windows and doors.
- Cutting angled pieces beneath the gables.
- Finishing the dormer exterior.
- Adding trim around the roll-up opening.
- Sealing joints and touching up surfaces.
- Building and installing decorative wood brackets beneath the small roof projections.
I made the brackets in the shop, then fitted them beneath the overhangs. They are not the biggest pieces in the project, but they help the smaller roof details feel intentional.
Finally, paint unified the exterior into a dark finish, while the porch posts, beam, and wood ceiling kept their warm contrast. The difference between assembled and finished turned out to be a lot of little details.
Turning the Construction Site Into a Backyard Space
The building was only half the transformation. Around it were offcuts, leftover materials, disturbed soil, and all the evidence of several months of work.
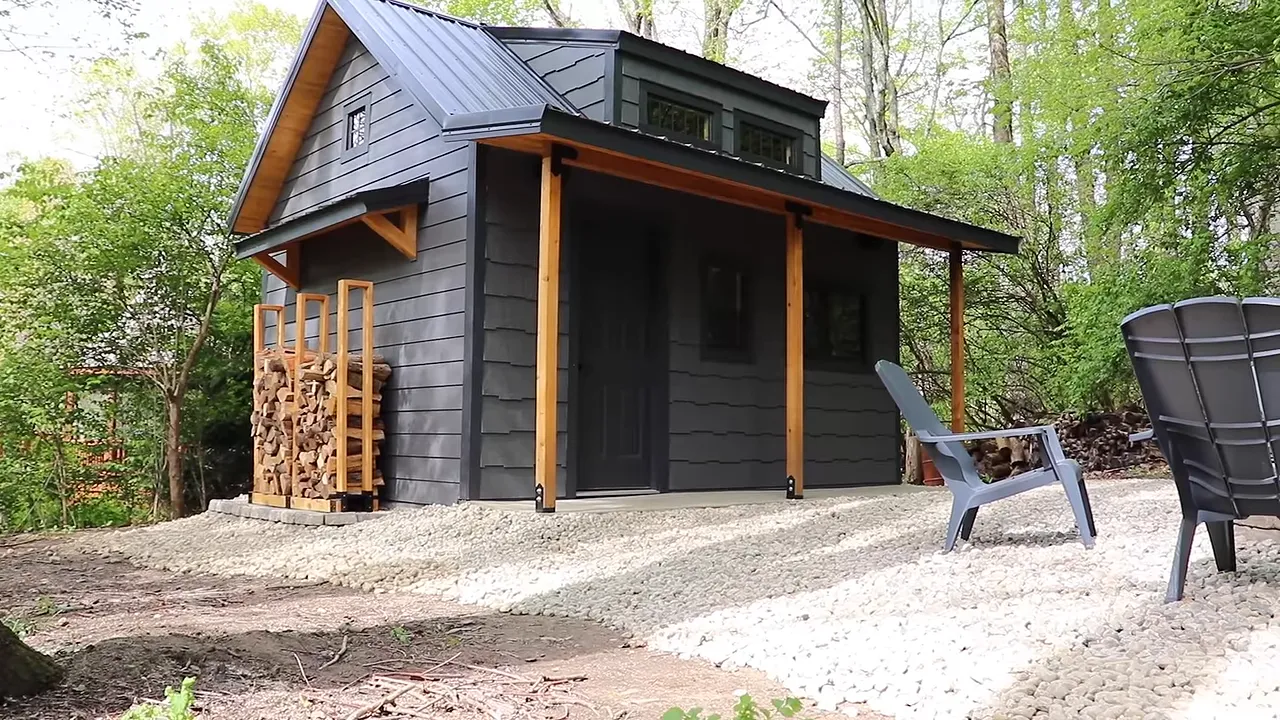
I cleared the debris, worked around the perimeter, and laid landscape fabric across the future gravel area. Then came another delivery and another round of hauling, this time moving bags of stone into the backyard and spreading them around the fire pit and shed.
The gravel connected the porch and seating area into one usable space. Chairs around the fire pit made the layout feel complete, and a firewood rack beneath the side overhang put wood close to where it would be used.
Keeping the Interior Practical
Despite the exterior details, this was still supposed to function as a shed.
Inside, I kept the framing exposed and built a long work surface with storage above and below. Adjustable feet supported the bench legs at the concrete floor. Wall storage panels and hooks provided places for tools, while lighting, speakers, and a compact refrigerator rounded out the setup.
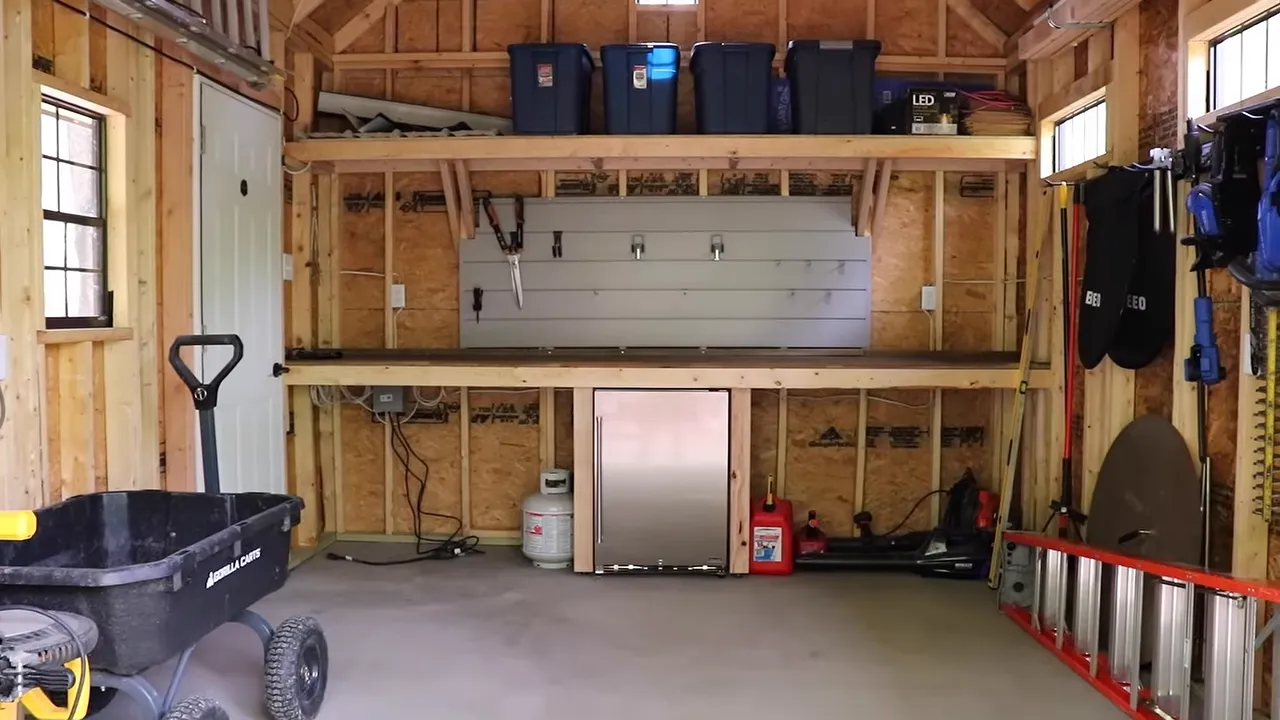
The result is not a finished residential interior. It is a utility space with a workbench, equipment access, storage, and a few conveniences that make it more enjoyable to use.
That distinction matters. The tiny-house look describes the exterior character, not a claim that this is a complete home.
Seven Months Later
From the original overgrown patch to the finished building, this project involved a lot more than putting up four walls and a roof. Site preparation, concrete, framing, custom openings, metalwork, siding, paint, storage, and landscaping all had their turn.
The big lesson is not that every shed needs a dormer and a porch. It is that the details should serve the way you want to use the space. Here, the large equipment door keeps it useful, the workbench makes the interior productive, and the porch and fire pit make the outside somewhere to stay.
The full-color shed plans and complete shed build series provide more detail on the project.
Seven months is a long time to spend building a shed. But ending up with useful storage and a backyard spot that actually gets used? That is a pretty good payoff.
A Convenient Meal Between Project Sessions
Factor sponsored this build presentation. After a long stretch of physical work, having a meal ready without another grocery trip or cooking session is genuinely convenient. At the time of the promotion, Factor offered fresh, never-frozen prepared meals, weekly menu choices, and the option to skip weeks. I had been a customer for almost two years, and my usual approach was Chef’s Choice and about two minutes in the microwave.
|